How To Fix HDMI Port on Xbox One
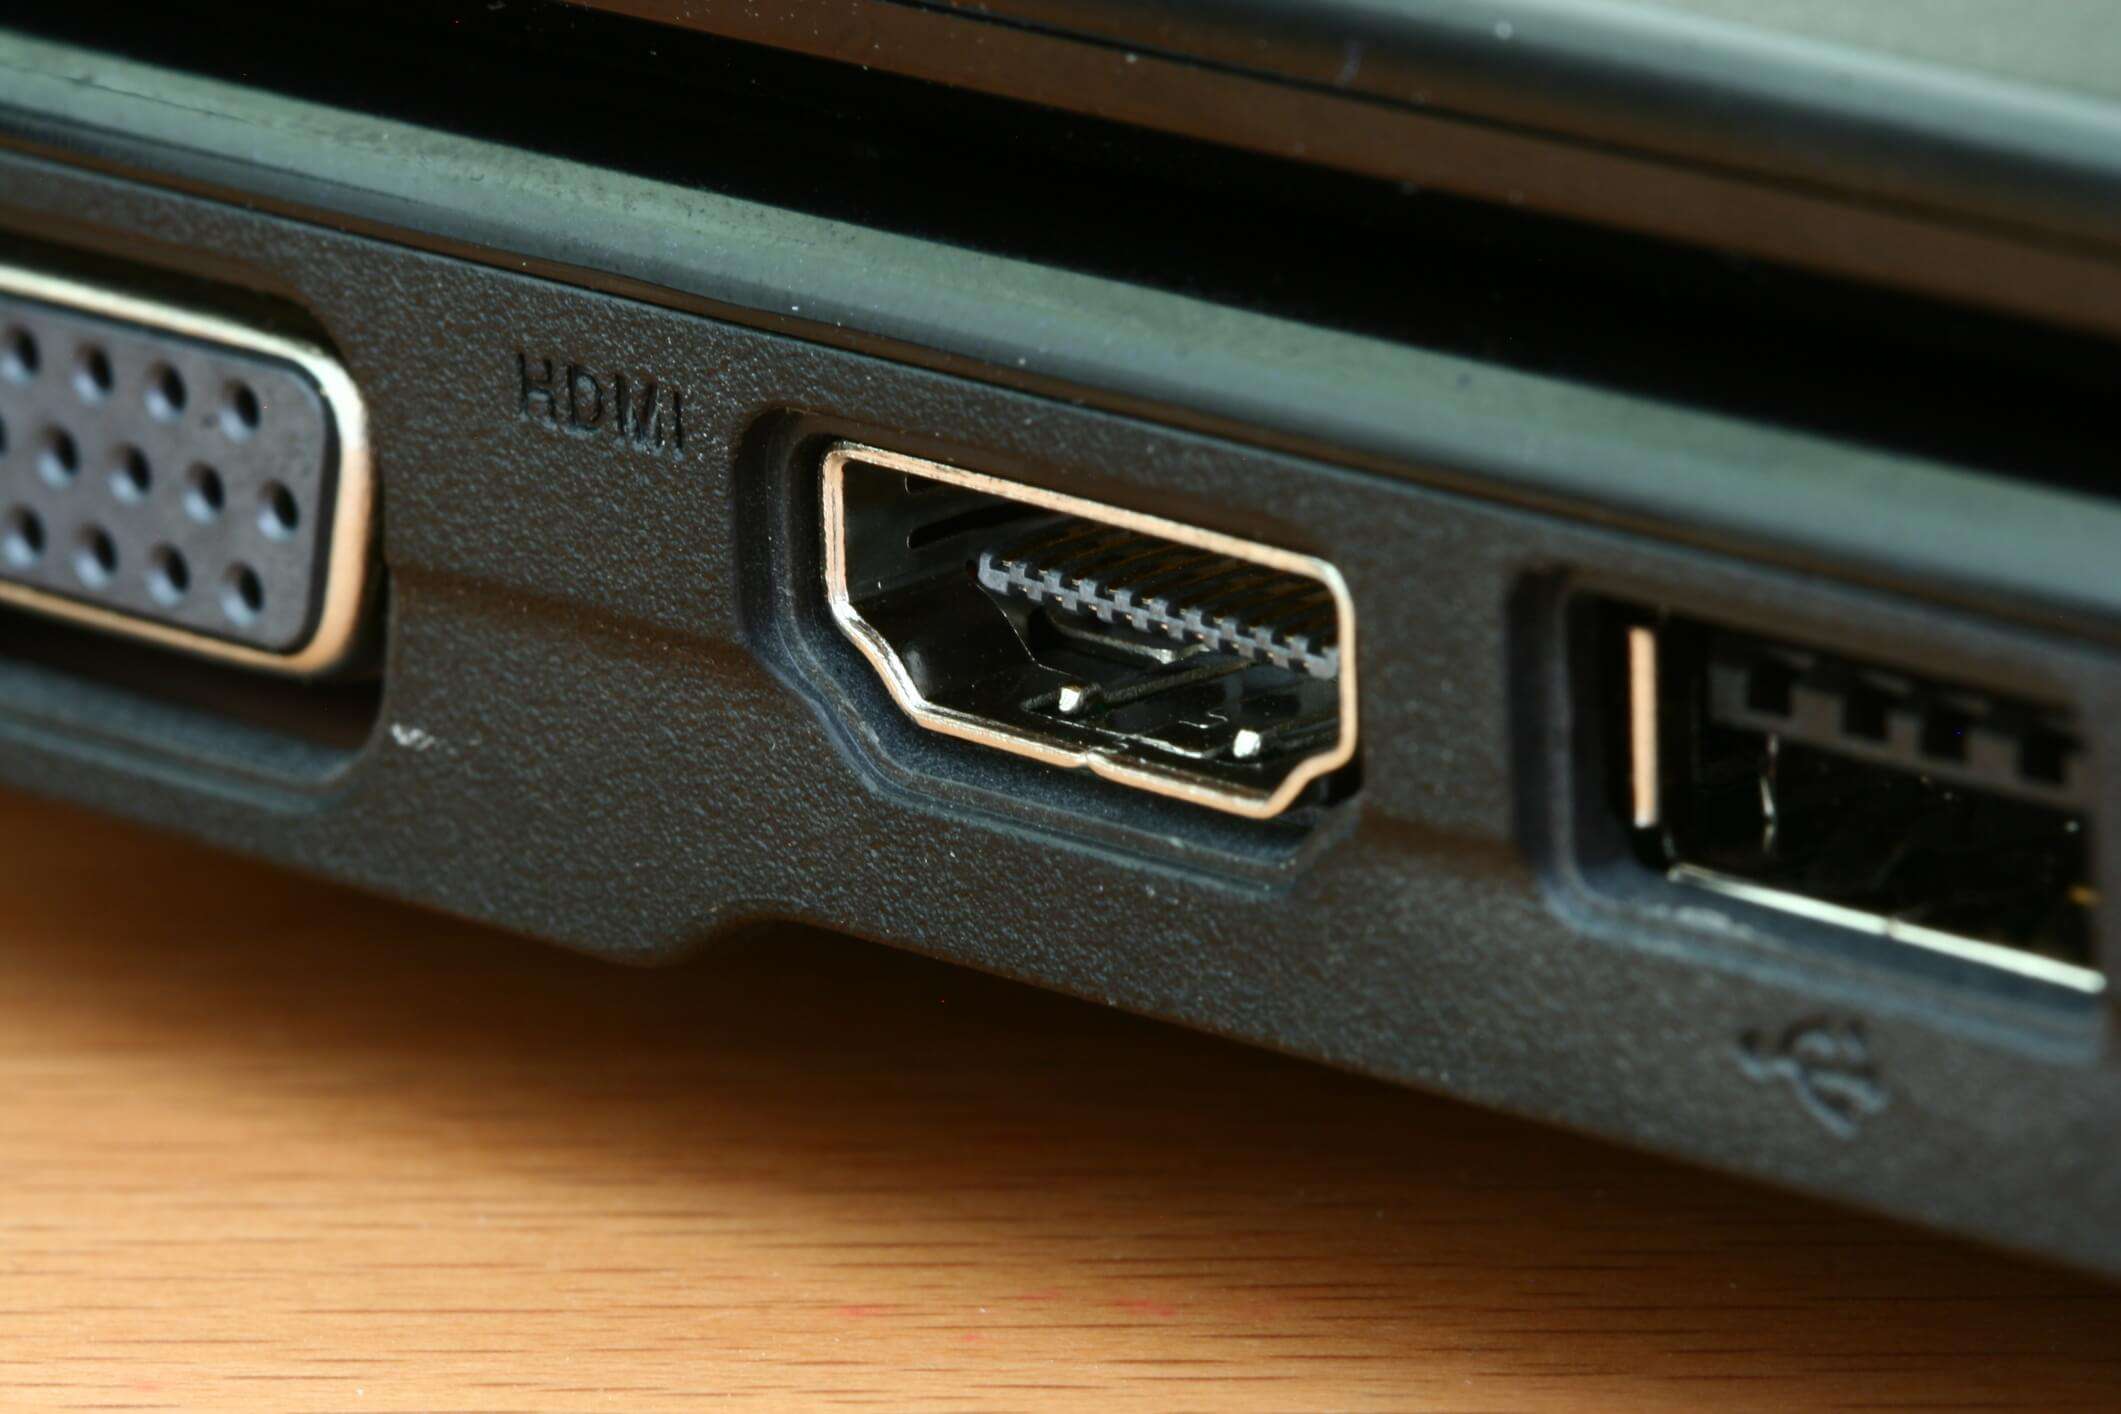
The Xbox One is quite popular all over the world. Owing to its sleek and thin design, players love to use it and enjoy an exceptional gaming experience. However, most players encounter certain types of issues that need immediate resolution. Many players keep pulling the HDMI cable due to which the port gets broken quite easily. This results in the failure of video game consoles as well. When such an incident takes place and you feel that your Xbox One’s HDMI port has become damaged or faulty, you can refer to this guide. In this comprehensive guide, you will get all the information on how to fix HDMI port on Xbox One in detail below.
So, without any further ado, let’s get started!
How To Fix HDMI Port On Xbox One?
Have a look at the given steps that can help you pin down the cause of the issue and resolve it.
- Check the connection
The first thing that you need to do to fix the HDMI port on Xbox One is to check the whole connection between your console and screen. Make sure that the HDMI wire is plugged on both sides. You can unplug the cable from both devices and plug it back again to check whether the connection is correct or not. Clean the ends of the ports while you plug the cable. Sometimes, dust and dirt in the cable ends can cause this issue. So, clean everything before connecting the cable again and verify whether the issue is resolved or not.
- Inspect the HDMI cable
Another way to fix HDMI port on Xbox One is to check the HDMI cable that you are using with your Xbox console and display screen. Inspect the cable ends and make sure nothing is damaged. Also, check the whole cable for any dents, cuts, or any other visible damage. If there is any damage, then you have to replace the wire to fix HDMI Port On Xbox One Without Tools. Even if you cannot find any visible damage signs, you should try a new cable and see if the issue is resolved or not.
- Try a different screen or monitor
Consider troubleshooting by connecting the console to a different TV or monitor. This step helps identify whether the problem lies with the console or the display device. If the issue persists on a new screen, it suggests a potential problem with the Xbox One or its cable. Conversely, if the problem disappears, the original TV or monitor may have a faulty HDMI port. This diagnostic technique aids in isolating the root cause and streamlines the troubleshooting process. Always ensure that the alternative display device is functioning correctly to accurately assess the situation.
- Troubleshoot the AVR (Audio-Video Receiver) connection
If you come across an HDMI issue while using an AVR block with your console and screen, then you need to inspect its connection. Make sure all the cables are connected properly before you power all the devices. To further troubleshoot the issue, you can unplug all the cables and plug them back again. You can restart the AVR and other devices and see whether the issue is resolved or not. Moreover, you have to make sure that the display screen is able to detect the HDMI connection with your console. If there is any issue with the AVR, then these steps will help you resolve them, and you can rectify the HDMI issue on your console.
- Try Different HDMI Port
A simple and straightforward solution to fix HDMI port issues on an Xbox One is to try a different HDMI port on your TV or monitor. Sometimes, a specific port may be faulty, and switching to an alternative one can resolve connectivity problems. Ensure the new port is in working condition by testing it with another device or cable. If successful, this quick workaround eliminates the need for complex troubleshooting.
Additionally, inspect the HDMI port for any physical damage and make sure your TV is set to the correct input. There are times when you can connect the cable to the wrong port. So, double-check everything and make sure that the HDMI cable is connected to the HDMI output on your console. All the ports will labeled properly on your console. This simple step may swiftly resolve common connection glitches, providing a hassle-free gaming experience.
- Power cycle your console
You should always remember that power cycling your console can rectify several issues without any unnecessary hassle. Here are the steps to power cycle your console.
- First, you have to press the power button on your console and hold it for approximately 10 seconds to switch it off.
- Now, remove all the cables and peripherals from your console and wait for 1 to 2 minutes.
- Now, you power up your device again, connect all the cables, and see whether the issue is resolved or not.
There is a high chance you can fix HDMI port on Xbox One issue with this method.
- Reset the display Settings
Another way to fix the HDMI issue on your console is to reset the display settings. Here are the easy steps to reset the display setting on your console.
- First, power on your screen and console.
- Now, navigate to the Settings menu and find the Display and Sound option.
- Now, look for the Video Output options and then select the appropriate resolution in the Resolution option in this menu.
- You can also rest the settings to default settings if you are not sure about any particular option.
- All done.
This method can help you fix HDMI port on Xbox One.
- Update Xbox One Firmware
Another way to tackle the issue is to update the firmware of your console. With the latest update, you can remove this glitch and play your games peacefully.
Here are the steps to update the firmware of your Xbox One console.
- Go to the Settings of your console.
- Now, look for the System option and select it.
- Look for the Update Console option in the Updates and Downloads menu and select it to check for the update. If there is any update available, then download it. Make sure that your console is connected to the internet while you download and install the update.
This is another method to fix HDMI port on Xbox One without tools.
- Opt for the low-resolution mode
There are times when you run the console in low-resolution mode it can resolve several glitches and issues with it. You can set your console in low-resolution mode yourself. Here are the easy steps to follow to start the console in low-resolution mode.
- Look for the power button on your console, press it, and hold it for approximately 10 seconds to power it down.
- Once the device is switched off, remove all the cables and look for the eject button.
- Now, you have to press both the power and eject buttons together and hold them until you hear two beep sounds. This can take around 20 seconds approximately so have patience.
- Now, power up your device to run it in the low-resolution mode.
This method may fix your issue, and you can play your favorite games on your Xbox without any trouble.
- Disable the 24Hz display setting on your Xbox One
If the 24Hz option is enabled in the display settings, then it can cause glitches and issues by interrupting the connection between your console and monitor/screen. You can disable the option from the Settings menu. Here are the easy ways to disable the option on your console.
- Power up your devices and go to the Settings menu under the Profile and System option.
- Now, navigate to the general menu settings and then click on the TV and Display option.
- Now, look for the Video modes and disable the 24Hz option.
- Switch off your console and power it back on to save the changes.
This is another method that can help you remove the issue and tackle several glitches.
- Contact Xbox Support
In case none of the above-mentioned methods in the above list works, then you have to contact the Xbox support. You can contact them or click here to visit the official site to connect with them. They will inspect the real cause behind the issue and help you resolve it.
If there is any issue with the console, then they can perform the proper repairs to resolve the issue so that you can resume playing your favorite games over it.
Also Read – How To Fix Input Lag on Xbox
What is the Total Cost to Fix HDMI Port on Xbox One?
Well, the total cost to fix HDMI port on Xbox One relies on a plethora of factors. The chief factor that makes a big difference in fixing the HDMI port on Xbox is selecting to repair the console as DIY or opting for professional help. DIY is a good option when you have electronics knowledge and can fix it easily.
To fix HDMI port on Xbox One without tools, you can opt for the direct replacement of HDMI ports at just $10-$20. But for that too, you need to know the port compatibility and quality and pick the right one.
Seeking Professional assistance is another route that will help with an immediate solution and cost more at about $50 or above. You need to research the repair services online or offline. For that, you need to do proper research on the best repair service provider and go through the different customer reviews to get a skilled technician.
While, many times, the issues related to the HDMI port can get covered under your device warranty. But for that, your Xbox One should still be in the warranty period. For that, you need to contact Microsoft support to know about the entire repair process. In case, the warranty period is not over, you can get the HDMI port issue resolved without spending a single penny.
The Final Verdict
Now that you have understood all the steps to fix HDMI port on Xbox One, you can follow this guide precisely to get the solution to your problems. Keep an eye on how you use the HDMI cable and, in all cases, be gentle with the port and cable. This will improve the longevity of the cable.
FAQs
- Can I prevent HDMI port issues on my Xbox One?
Although it is truly difficult to prevent any HDMI port issues on Xbox One, you can take proper precautions to help you minimize the risk of encountering some HDMI port issues.
Firstly, clean the console on a regular basis. Also, timely maintenance can prevent dust and other underlying buildup.
Secondly, don’t use unnecessary force to insert or eject the cable.
Thirdly, make sure that the cable doesn’t get bent or damaged.
- How to reset the Xbox One?
You need to follow the given steps and use the console for resetting the Xbox One:
1. For accessing the directions, click on the Xbox button.
2. Choose the Console details option which is available in Profile & System>Setting>System.
3. Now Choose the Console Reset option.
4. On the Reset your console pop-up, you get three options: Cleaning up and resetting anything, Reorganizing the console to default locations.

