


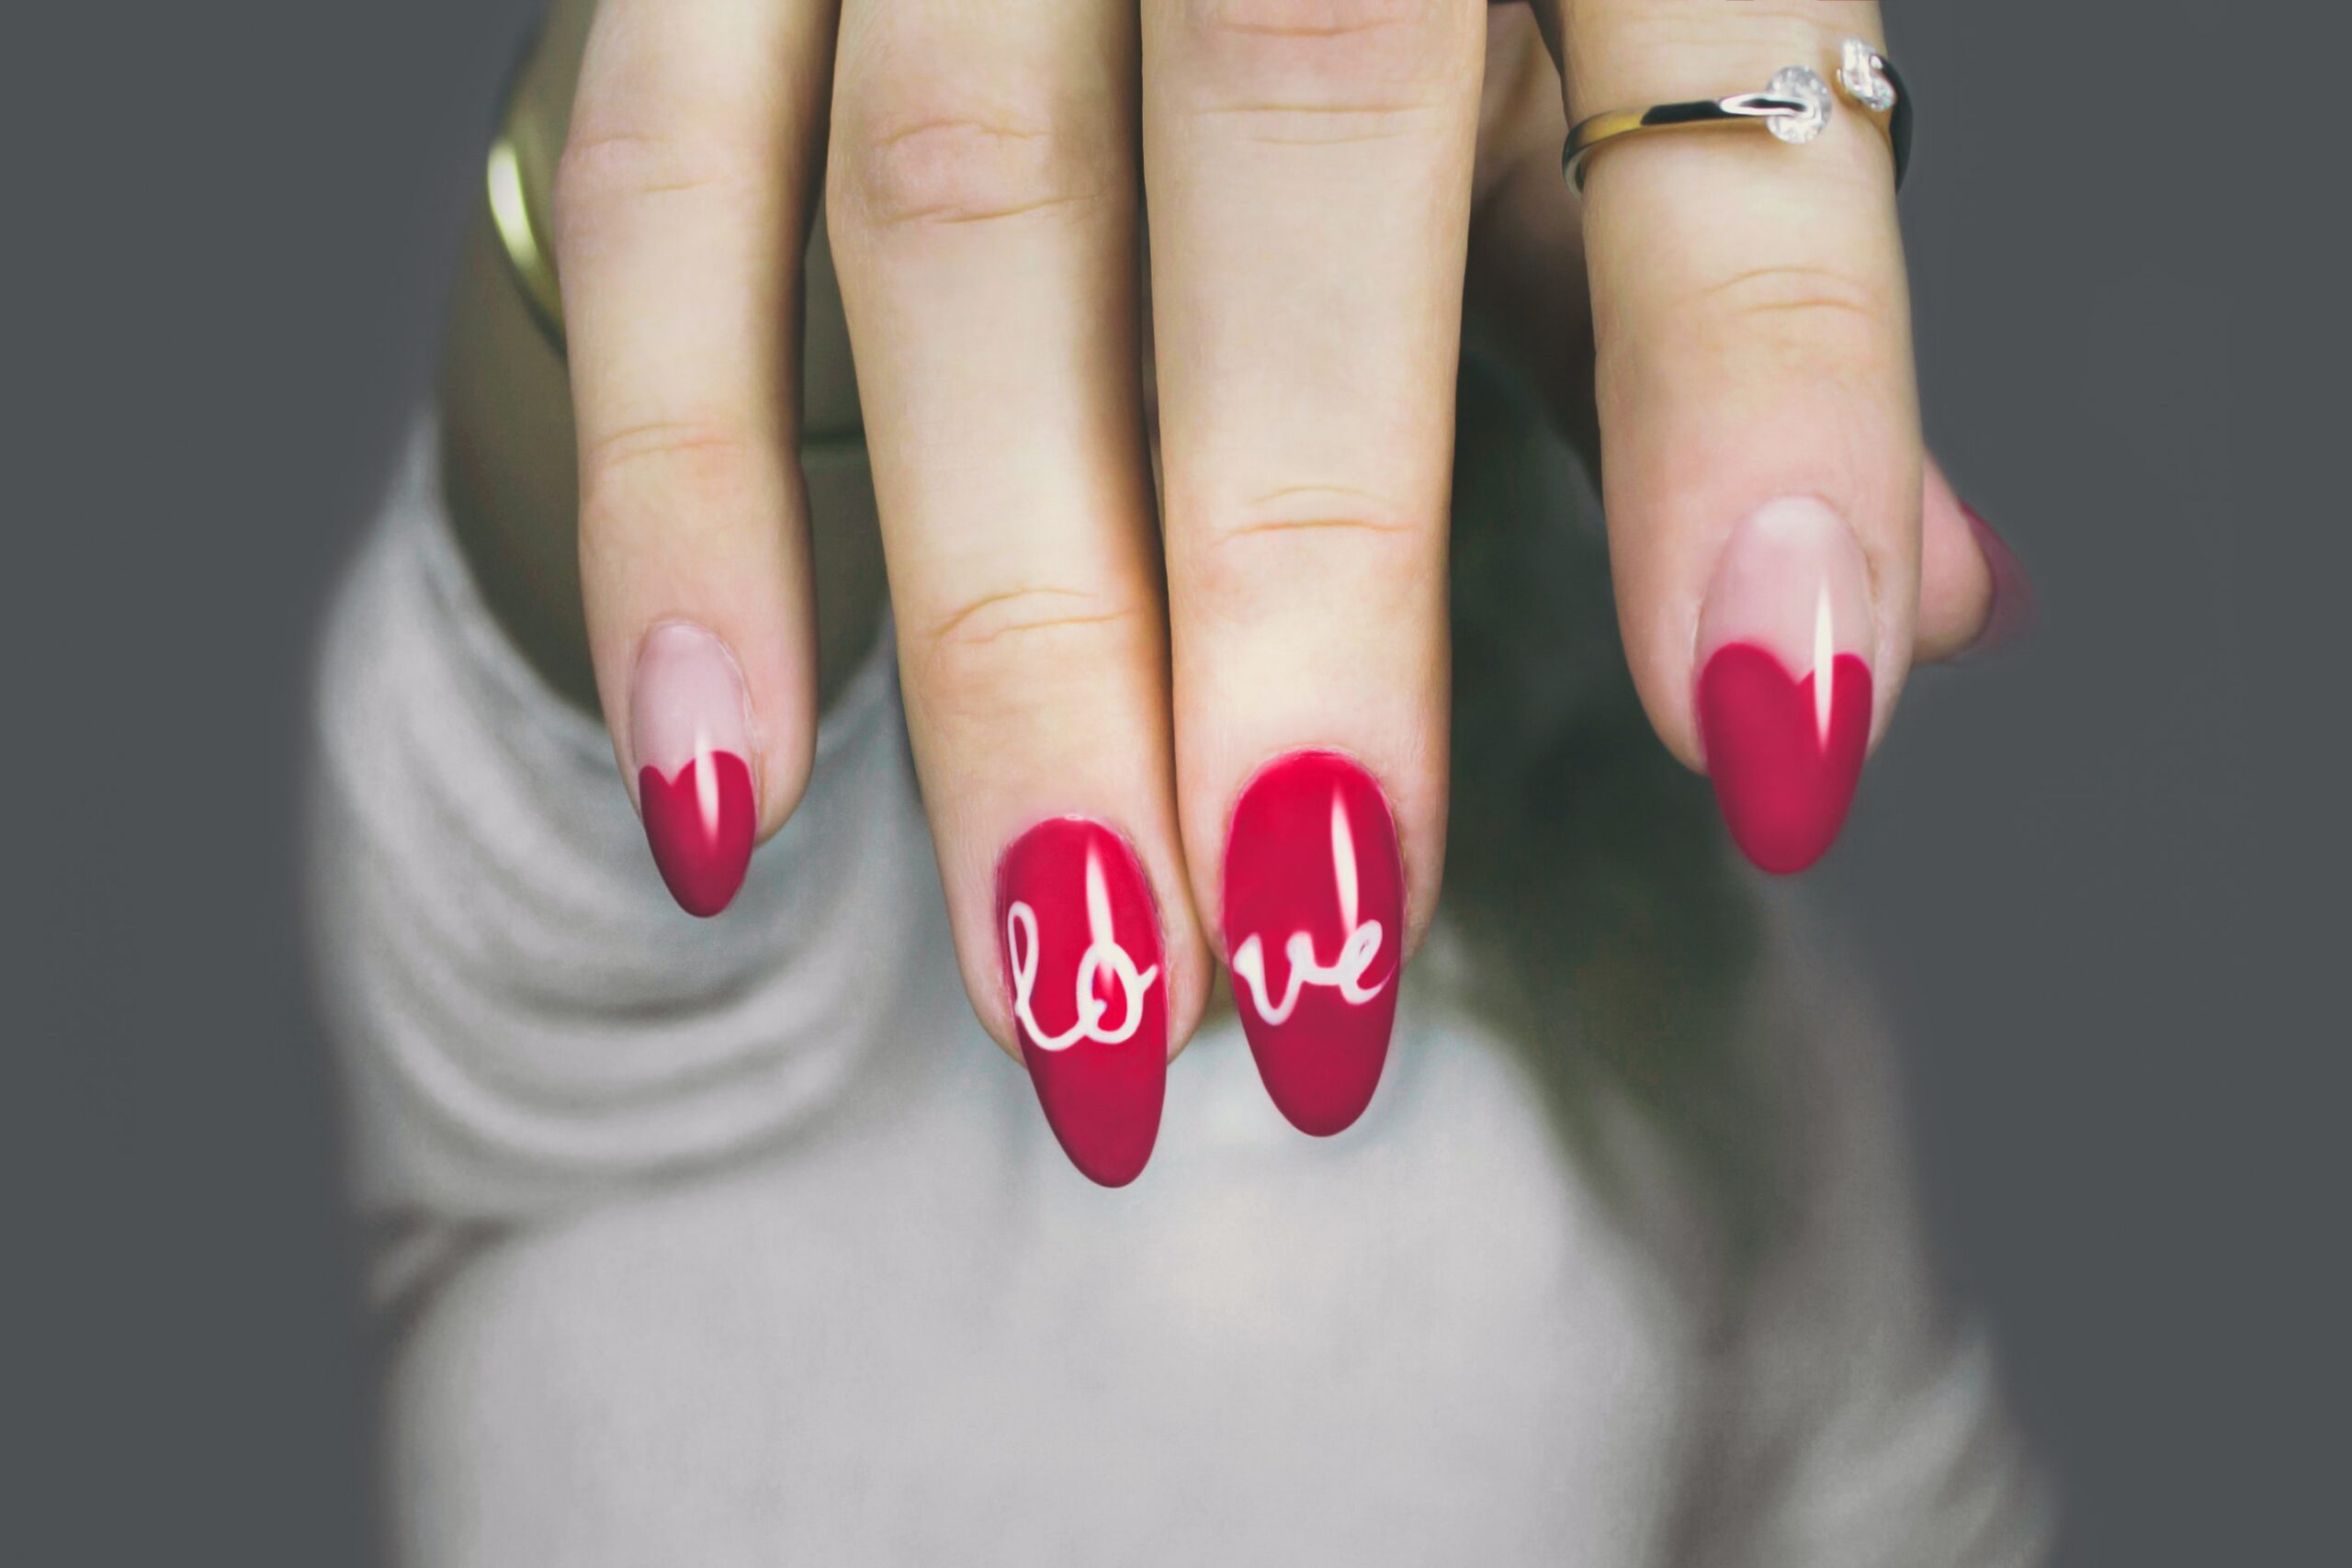
How To Do Nail Art At Home Step By Step For Beginners Guide
Nail art at home is the most trending nowadays. To begin with, who does not like to have that extra dose of dazzle to your nails?
In this case, how-to-do nail art at home is a big question mark? Probably, if you are looking to do nail art at home you are in the right place, this article is for you.
Are you bored with the same type of nail art, monotonous nail paints? As a result, you want to try and experiment with your nails than read on, here you will find all the steps to do nail arts easy at home.
You can try these nail art at home easy steps and convert your virtual dream into reality. Furthermore, I am sure with these simple step by step nail art at home guide you will surely get the similar look like a nail art studio. So, let us get started!
Reasons To Do Nail Art At Home
1. Nail Art is most trending just like other fashion trends.
2. Generally, Nail Art is a drastic nail makeover. Gives nail a new, trendy, and glamorous look.
3. For instance, always going to a Nail Art Studio can be very expensive.
4. Again, Nail Art is a must for any occasion, let it be a wedding, party, cultural event, or festivals. Also, Nail Art can be done regularly.
5. Practically,Nail Art at home is not only cost-saving but also it can be done anytime and anywhere( locations where no Nail Art Studios are available).
Getting Your Nails Ready For Nail Art
A. Remove Your Old Nail Polish
Firstly, dip a cotton swab into nail paint remover and remove all remains of your old nail polish. As a rule, even if there is no remains follow this step. Look forward, to remove all the traces from the nails.
B. Trim The Nails:
Afterward, trim all your nails to the desired equal length. Make sure all the nails are even. Here, use nail clippers to trim the nails.
C. Buff Your Nails In Proper Shape
Particularly, use a nail file to buff your nails. Thereby, shape all of the nails into the desired shape depending on your preference. Likewise, you can buff your nails into the square, round shape or any other desired shape of your choice. Also, buff the surface of your nails with a buffer.
D. Soak Your Nails
Subsequently, soak your nails into a lukewarm bowl of water. Accordingly, this softens your cuticles and it is easy to push them. Afterward, dry it with the help of a towel.
E. Push Back Your Cuticles
In this case, cuticle pusher pushes your cuticle back, so that you create good space for nail art. Particularly, avoid trimming your cuticles.In brief, the hack for long-lasting nail paints is just to refrigerate it.
In conclusion, your nails are now perfect and ready for nail art.
Acrylic Nail Preparation
Lets us now understand Acrylic Nail Preparation for nail art. To begin with, Acrylic Nail Preparation is also known as Artificial Nail Enhancement. Generally, Acrylic nails are used to artificially enhance the fingernails.
In short, when your nail growth is not so good that time acrylic nail preparation is only the option. Usually, Nail Art suits more on long length nails.
Steps To Be Followed For Acrylic Nail Preparation/Artificial Nail Enhancement:
A. Cleanse The Nails:
Cleanse the surface of the nails with nail cleanser. To mention, this cleanser is a solvent containing alcohol. Accordingly, it removes the bacteria from the surface of the nails.
B. Apply The Primer
After, the nail surface has been cleaned apply primer to nail surface. The reason behind this is that acrylic will adhere properly. In the meantime, primer makes a base for acrylic.
C. Sculpting The Nails
Then, place the artificial nail-shape on each fingertip to ensure the shape is perfect to match the nail. In the first place, this should be done before applying resin. If any trimming and buffering of the artificial nail to be made, correct it beforehand only.
D. Mixing The Resin
By the way, the resin is made by mixing acrylic liquid with acrylic powder. Soon, use the solution instantly as it is made. Otherwise, if it is not used quickly it may harden and dry.
E .Finish The Nails
Now, manicure to give perfect shape so that a new nail is filed. Finally, use coatings and polishes to complete the manicure.
How To Do Nail Art At Home Step By Step
Do you want to display your creativity and passion into reality with nail art? Then, here is a simple step by step nail art at home guide with amazing tips and tricks to be followed. Also, with very easy and simple nail art designs.
Nail Art With Nail Powder
Materials Required
- Base nail paint
- Black nail paint
- Topcoat
- Chrome Nail Art at the home-Nail powder of your choice
- Holographic Nail Art Holographic Powder
- Mermaid Nail Art -Mermaid Nail Powder
Step By Step Guide
Step 1. Firstly, apply the base coat to protect your natural nail.
Step 2. Now, apply 2 coats of black nail paint as the base color.
Step 3. Besides, apply the topcoat. Let it dry completely.
Step 4. Using your fingertip apply the nail powder over it.
Step 5. Just look forward that you have put the powder evenly all over. Even to the side of your nails.
Step 6. With your fingertips only start merging the powder.
Step 7. Subsequently, keep doing repeating it till you get the desired result.
Step 8. Lastly, apply the topcoat to lock the powder in.
Step 9. Use holographic powder for super shinny rainbow holographic nails. This is must-try nail art. I am sure you will love it.
Step 10. Also, use mermaid powder. This powder is very different from holographic powder. Put this powder directly on the white base or any opaque color.
Follow the same procedure as mentioned above. Your mermaid powder nail art is here ready. Do not forget to flaunt your nails in style.
It looks amazing and so glamorous, isn’t it? But there is a question mark from where to buy these magic performing powders? Here it is-Just click on Buy Now to buy.
1. Nail powder-Vozwa Glitter Nail Powder:
- Quantity-12 piece
- Color-Multi color
- Just in INR 195/-
2.Rainbow Holographic Laser Nail Powder:
- Quantity-2 gms
- Color: Rainbow-colored
- Just in INR 499/-
3.Mermaid Effect Nail Powder:
- Quantity: Total of 18 boxes
- Color: Multi-Color
- Just in INR 1815/-
How To Do Gradient Nails(Without Glitter):
Materials Required:
- White nail polish for the base
- Nail Paints of your choice 3-4 colors
- Sponge
- Liquid Latex(Optional)
- Topcoat transparent nail paint
Step By Step Guide:
1. Apply one color of base nail color. Let it dry completely.
2. After that apply liquid latex. That it is optional for you.
3. Next, apply your nail colors to the sponge. And make sure that they overlap on one another. Dab this color sponge on to your color base nail paint.
4. Repeat this step several times until you reach the desired result.
5. Finish with the topcoat.
Pack of Multi-Colored Nail Paints-NOY Nail Polishes Set:
- Quantity-12 color box, 6 ml each
- Color:Multi-colored
- Just in INR 349/-
Glitter Gradient Nail Art:
Materials Required:
- Base nail color of your choice. Nude nail color will be a great option
- Golden or Silver Glitter nail paint
- Topcoat nail paint
Step By Step Guide:
1. To begin with, use any base color of your choice. It is not necessary to apply the topcoat to this type of nail art.
2. Pick any glitter nail paint of your choice.
3. To illustrate, apply the glitter nail paint only on the tips.
4. In the same way, with the nail brush only drag it down. At least up to half of your nails.
5. You can try fixing the glitter even with the toothpick more down. But again this is optional.
6. Again, take the glitter nail paint put only to the tip of the nails. For more accurate guidance watch the video below.
7. To the end, apply the topcoat. And your glittery nail art is ready to shine just like glitter.
Glitter Coat Nail Enamel: My Glam Gel Finish Nail Enamel Duo-
- Quantity-2 shades
- Color: Liquid Gold
- Just in INR 390/-
Tooth Pick Nail Art:
Materials Required:
- Nude color nail paint of your choice
- Dark color nail paint of your choice
- Glitter nail color of your choice
- Toothpick
- Topcoat for shine
Step By Step Guide:
1. For this type of nail art apply the base nail paint especially any nude color. Paint your nails only once.
2. Paint a vertical narrow strip of a dark color to a corner of your nails. And a strip of any glitter nail paint of your choice just next to it and the side inside.
3. In the meantime, take a toothpick and start making a marble-like pattern.
4. Further, apply the topcoat to make it look shiny and glossy.
And yes, have you ever wonder toothpick can even make this type of wonder in the form of nail art at home.
1.Nude Nail Paint-De Belle Gel Nail Lacquer Vintage Forest :
- Quantity-8 ml
- Color: Pastel Purple
- Just in INR 274/-
2.Top Coat Transparent Nail Polish: Bonjour Paris-
- Quantity-9.5 ml
- Color: Transparent Topcoat
- Just in INR 171/-
Nail Art With Scotch Tape:
Materials Required:
- Base nail paint for protection
- The base color of your choice
- Scotch tape and scissor
- Golden or Silver Glitter Nail Paint
- Nail color of your choice
Step By Step Guide:
1. In the first place, apply the nail coat to protect your nails.
2. Its the time for a base color. Apply the base color of your choice.
3. Take a scotch tape now. Cut it as per the design of your choice for instance zig-zag design. Place it on your nails as per the desired design.
4. Soon, apply this second coat of nail paint preferably glitter nail paint just to the second half portion of the base nail paint. After applying it remove the scotch tape slowly.
5. Again, keep the scotch tape on the new second half portion of glitter nail paint.
6. Subsequently, it is time to apply the third color of nail paint of your choice over it.
Three-layered nail art at home with the help of scotch tape is ready to dazzle.
Glitter Nail Paint:
- Quantity-9.5 ml
- Color: Pearly Shine Glitter Finish with 3D Effect
- Just in INR 130/-
Water Marble Nail Art:
Materials Required:
- A bowl of water
- 6-7 glitter or any nail colors
- Liquid Latex(Optional)
- Glossy topcoat nail paint
Step By Step Guide:
Step 1. First, start by applying a white base nail paint.
Step 2. Afterward, apply liquid latex. That it is optional for you.
Step 3. Secondly, take a bowl full of water. Now take different shades of glitter nail paints and start adding one drop of each nail paint into the water. Let the shades of colors overlap each other.
Step 4. Later, with the help of a needle or toothpick give the design a beautiful shape of your choice.
Step 5. Thereby, insert the nail with white base into the water in such a way that all those layers of shades get stuck to it. Do use a toothpick for assistance.
Step 6. Peel off the extra layers of nail coats on your fingers.
Step 7. Thus, finish it with the topcoat.
Your marble nail art is ready to reflect its unbelievable effects on your nails.
Glitter Nail Polishes: Galm Girls
- Quantity-Pack Of 3
- Color: Multi-Color
- Just in INR 199/-
Nail Art With Rhinestones, Diamonds
Materials Required:
- Base nail paint of your choice
- Gel/Nail Guel
- Diamonds, stones, pearls or any other jewel as per the desired design and your choice
- Plucker
Step By Step Guide:
Step 1. Start by applying a thin coat of glue gel on your nails, where the jewels are to be placed. For this nail art, you have to be faster, before the glue dries off.
Step 2. Instantly, start placing diamonds, stones, pearls on the gel with the desired design of your choice.
Step 3. Just look forward that you do not overstuff it.
Step 4. Make use of plucker to pluck the jewels and insert it on the nail.
Oh! hereby you are ready with the jewels on your nails which surely give them a heavy look.
Diamond Nail Art Box: Fashionwu
- Quantity-Box of 12
- Color: Mixed DIY Nail Art Tool
- Just in INR 399/-
Caviar Beads Nail Art:
Materials Required:
- Caviar Beads2-3 shades of your choice
- Base nail color of your choice
Step By Step Guide:
Step 1. Take 2-3 color shades of caviar beads of your choice. Mix them in a bowl.
Step 2. Secondly, apply the nail color of your choice as a base. After this place your second coat.
Step 3.Till the second coat is wet stick the caviar ball on it, by flowing then from a bowl slowly on your nail paint. Place a bowl beneath so that balls do not fall.
Step 4. Consequently, place your finger upside down to remove excess caviar beads.
Isn’t it simple yet amazing nail art at home and in less time as well?
Caviar Beads For Nail Art:
- Quantity-Micro Box Bead Disc
- Color: Multi-Colored Metal Caviar Beads
- Just in INR 399/-
Dotting Nail Art: Nail Art With Nail Art Tools At Home–
Materials Required:
- Dotting tool for nail art at home
- Base color nail paint of your choice
- Black colored nail paint
- Needle or toothpick(If required)
- Topcoat
Step By Step Guide:
Step 1. Dotting nail art requires the dotting tool for nail art.
Step 2. The base nail color of your choice should be applied, preferably a light nail color.
Step 3. Give a dot exactly in the middle with the dotting tool specially used for nail art. Preferably use dark-colored paint for dotting. After that start giving dots in circular motions.
Step 4. With any pointed instrument or even a toothpick join all these dots. And make a ring-like structure shown below in the video.
Step 5. Then, apply the topcoat.
You can make any design of your choice using the dotting instruments. Pop your dot with dotting dots nail art.
Dotting Nail Art Tool: Shopoholic Steel Nail Art Dotting Mabelizing Tool Pen-
- Quantity-5 pcs pens
- Just in INR 240/-
Newspaper Nail Art
Materials Required:
- Newspaper
- White Base Nail Paint
- Topcoat
- A bowl of water
Step By Step Guide:
Step 1. To commence with taking a piece of newspaper. Cut it into a small piece.
Step 2. Nextly, apply a base nail paint of white color. After that immediately apply the topcoat.
Step3. Also, take a bowl of water. Soak the newspaper in the water for 5 seconds.
Step 4. It is the time to take it out and place it on your wrist.
Step 5. Rub it gently to remove the top layer of the newspaper.
Step 6. Place the paper piece on your nail. Dab on it with your fingertips.
Step 7. Remove the excess newspaper gradually.
Step 8. Moreover, with the wet newspaper on your nails, apply the topcoat.
Doesn’t it seem like magic that also from best out of waste?
White Base Coat Nail Paint: Faces Canada Splash Nail Enamel-
- Quantity-8 ml
- Color: White O White
- Just in INR 122/-
Nail Art At Home FAQs
What Is Nail Art ?
Nail art is a creativity to enhance your nails with different decorations and art skills. It can be done with tools or without tools. Nail art is trending fashion recently.
How To Do Nail Art At Home Without Tools ?
The simple Nail Art mentioned above are without tools. You can easily to all of them at home just by above instructions and with available nail product material.
How To Do Easy Nail Art At Home For Beginner’s ?
I have already guided you step-by-easy with easy Nail Art at home. In very simple steps you can get a nail art like a pro. Just you need to follow the above steps properly.
Conclusion
To conclude these were the 10 awesome yet simple Nail Art at home step by step guide. Isn’t it fun to try this? Can you resist yourself from trying this despite your age? Let your creativity reflect on your nails in the form of nail art. Some are leaders in art, some are leaders in heels through dance.
Not only pop your amazing nail colors but also dazzle them with creative nail art with recent trends. Be stylish be trendy! Let your style, fashion, and trends reflect on your nails too. How was your experience with nail art at home? Do not forget to share it with me.
If you have liked the article share it. Sharing is caring!
For further reading: